

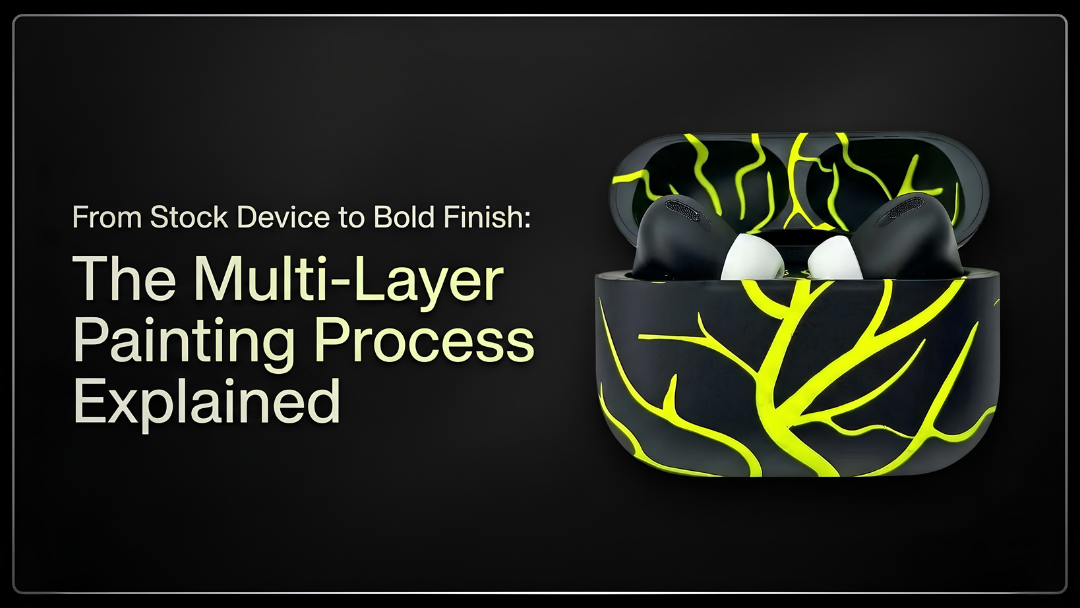
Every device starts as stock hardware. What happens between that starting point and the finished piece is where the real work begins.
A hand-painted device involves far more than adding colour to its surface. The hardware has to be prepared for paint, colour is built through controlled layers, fine details are applied by hand, and the finished surface is sealed before the device is tested.
So what actually happens inside the Craft by Merlin studio? From protecting sensitive components to applying the final finish, here is a look at how a standard device becomes a hand-painted piece.
Step 1: Preparing the Device
Before paint touches the device, the surface is thoroughly cleaned to remove dust, oils and other contaminants that could interfere with adhesion. The surface is then prepared so the paint can be applied evenly.
Sensitive areas are protected throughout the process. Ports, sensors, buttons and other functional components are carefully masked to keep paint away from areas that need to remain fully operational.
Good preparation gives the paint a clean, suitable surface and helps the finished coating look consistent.
Step 2: Applying the Base Coat
Once the device is prepared, the base coat establishes the starting colour for the design.
It creates an even surface for the layers that follow and helps the final colours appear consistent across the device. This is particularly important when the design uses lighter shades or contrasting colours, where an uneven base can affect the final appearance.
The base coat is not the finished colour. It gives the subsequent layers a consistent foundation to build on.
Step 3: Building the Colour in Multiple Layers
The colour is built through three thin layers rather than one heavy coat. Each layer is applied evenly, gradually developing the coverage and final colour.
A single thick application can create uneven buildup and affect how the paint cures. Using thinner coats makes it easier to build the colour evenly without unnecessary thickness.
Each layer works with the one beneath it, bringing the colour to its final depth and coverage. The result is a smoother, more even finish than applying the colour in one coat.
Step 4: Hand-Painting the Details
Once the main colour is in place, the smaller design elements are added by hand. This can include glyphs, two-tone splits and fine edge lines that bring the design together.
These details are painted freehand rather than applied with generic stencils. On a small device surface, even a slight change in the position or shape of a line can affect the overall design, so each element has to be placed carefully.
This is where the design begins to take on its own visual identity. The underlying device may be the same, but the hand-applied details give the finished piece a distinct look.
Step 5: Applying the Protective Seal
Once the design is complete, the painted surface is finished with an automotive-grade protective coating to help protect it during everyday use.
The coating is applied carefully and then left to cure properly. This curing time is an important part of the process. Rushing it can affect the final appearance of the device.
The painting is not complete when the last detail is applied. The protective coating must cure fully before the device moves on to its final quality check.
Why Hand-Painted Devices Take Time
A hand-painted device cannot be finished in a single sitting. Each stage needs to be completed properly before the next one can begin, and some stages require time before the device can move forward.
Rushing one stage can affect the result of the next. Too much paint can create unwanted buildup, while insufficient curing time can affect the final finish. The extra time is therefore part of the work required to achieve the intended result.
This is one of the main differences between handcrafted customisation and mass production. The starting device may be standard, but the work required to create the finished piece is not.
The Final Quality Check
Before the device leaves the studio, it goes through a final inspection covering both the finish and its functionality.
The paintwork and detailing are checked for consistency and overall finish, while key functional areas are tested to make sure the customisation has not affected how the device operates. This includes checking buttons, sensors and charging functionality where applicable.
Areas that were protected during painting are also inspected to ensure they remain clear and functional.
Only once the device has passed these checks is it prepared for shipping.
Why No Two Hand-Painted Pieces Are Exactly Alike
Mass-produced devices are designed to look consistent from one unit to the next. Hand-painted pieces are finished individually, so subtle differences in how the paint and details are applied can occur from one device to another.
That does not mean the finish is inconsistent. Each piece still requires careful application and attention to detail. The difference is that the work is carried out individually rather than reproduced through a completely uniform production process.
The underlying hardware may be the same, but the hand-applied finish gives each piece its own visual character.
The Finished Piece
A hand-painted device starts as familiar hardware, but the finished piece reflects an individual process of painting, detailing and finishing. That is what gives each design its own visual character rather than the uniform appearance of mass-produced hardware.
Explore Craft by Merlin's handcrafted finishes to see how the process translates into finished pieces.


